Bump It Up Walls: The Classroom Game-Changer
Bump It Up Walls are not just a trendy concept; they are a fantastic tool to make learning visible and interactive in your classroom. In this blog post, let’s explore how Bump It Up Walls can revolutionise your teaching approach, create a dynamic learning environment, and empower your students.

The Research Behind Bump It Up Walls
Wondering what the research says about Bump It Up Walls? We were also wondering this, so we dug a little deeper and found some links to research. You can read about the links to evidence supporting the effectiveness of this tool in enhancing student learning in this post. You’ll discover how Bump It Up Walls contribute to clearer learning intentions and serve as a valuable ‘third teacher’ in the classroom, especially when you’re occupied with other students.
Setting Up Your Bump It Up Wall: Simple and Effective Tips
Curious about how to set up a Bump It Up Wall in your classroom? Check out our post , which includes practical tips and easy-to-follow steps. From finding or creating levelled examples to setting up the display, learn the ropes of creating an engaging and informative Bump It Up Wall that resonates with your students.
Using Bump It Up Walls
So, one the display is up, how do I use Bump It Up Walls in the classroom? Read our tips (with links to further reading) to learn how!
1. Find good work samples
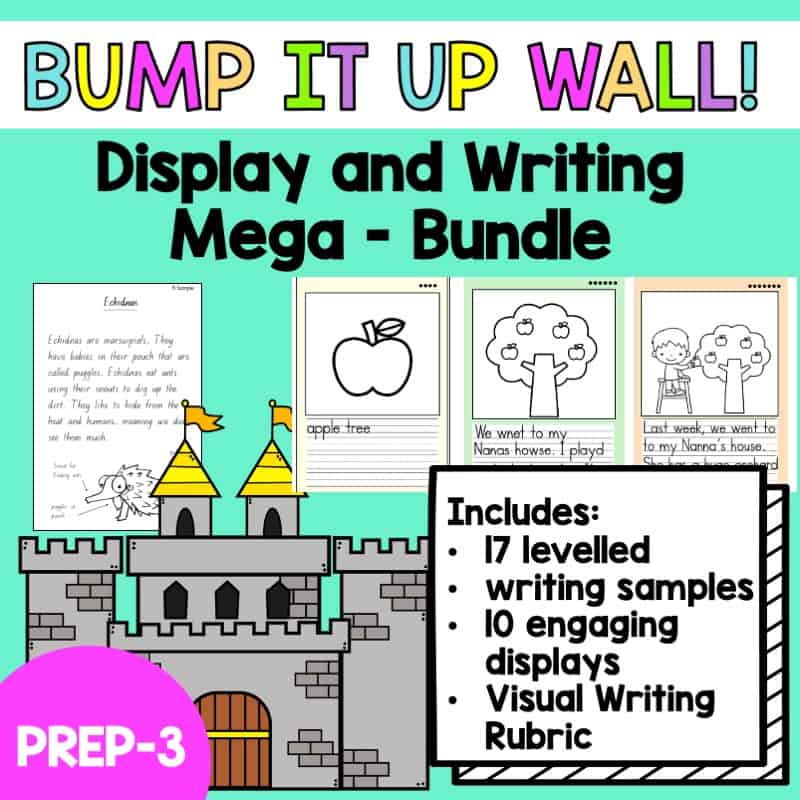
At the beginning of each unit, I look for worked examples to use as levelled texts on my Bump It Up Wall display. I may also write them myself if I can’t find good examples or past student work to display.
While writing them myself is more time consuming, it also gives me a deeper understanding of the task. If you have the time, give it a go. If you don’t have time to write your own samples, download some of ours.
Co-constructing is also important (and we’ll cover that later), but immersion in good quality texts is key. Showing students ‘what a good one looks like’ helps you to teach to the ‘A’ and establish high standards from the get-go!
2. Complete a pre-test and introduce the Bump It Up Wall concept to students
At the beginning of a unit, normally the end of week one, I will collect a student (pre-test) work sample from each of my students. I like to use this as a base line of where the students were at before the unit begins. However, students will need to at least be familiar with the text type or genre that they are writing to complete the pre-test.
Once the sample is created, I will introduce the bump it up wall, learning intentions, and the work samples. I deconstruct each work sample as a whole class, and we also deconstruct, annotate and analyse lots of different examples to identify success criteria and WAGOLL (What a good one looks like).
3. Introducing feedback
In week two, I mark and return each student’s pre-test sample, along with some feedback. Normally feedback is verbal and I will help them to write one thing that they can improve on a post-it note. They can refer back to it later or add it to our Learning Wall.
Then, I ask students to determine where they currently sit on the bump it up wall (which worked example best represents their current ability?). They can label themselves using tags I have created with their names on, or anonymously with a picture they have drawn (and their name on the back for my reference).

3. Moving through the learning cycle
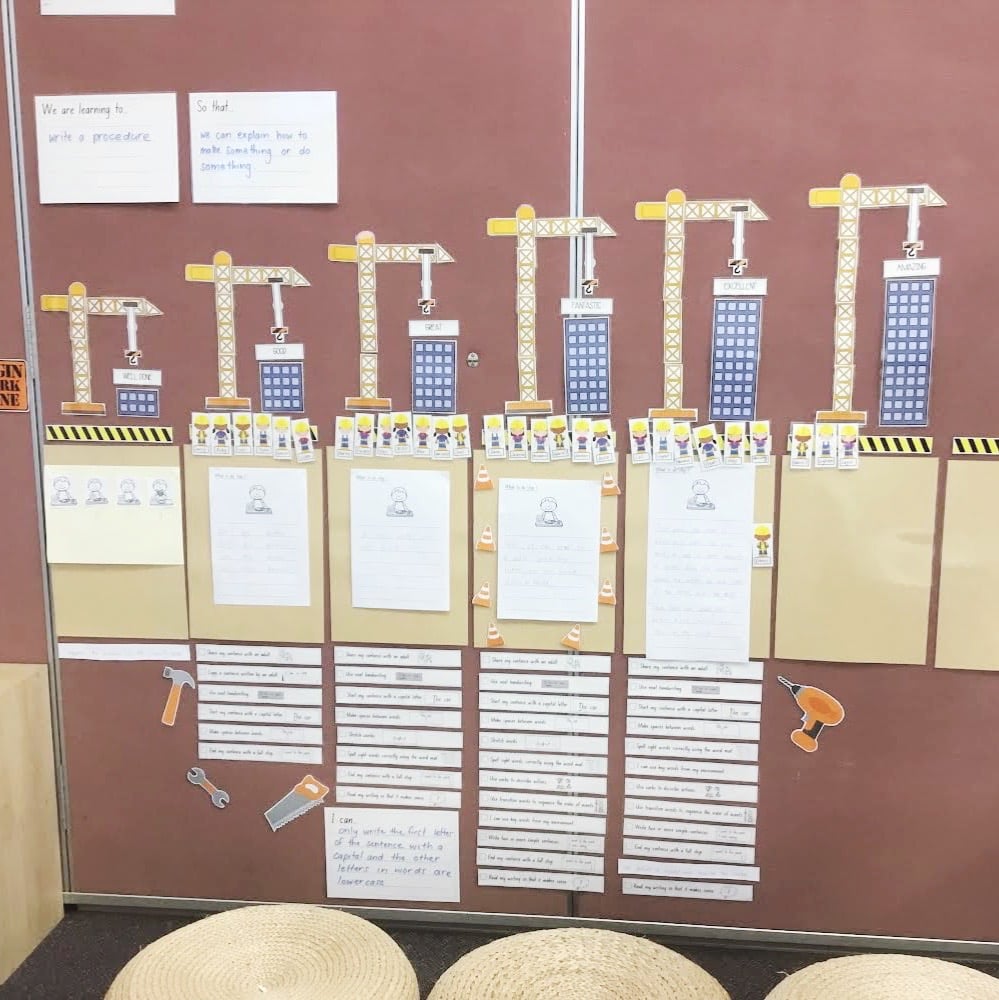
Once the sample is collected and the Learning Intention, initial Success Criteria and the Bump It Up Wall are introduced, I begin teaching my unit!
Throughout the teaching and learning cycle, I reference the bump it up wall and encourage students to see how they can improve their writing. The language we use remains the same, students know where they need to go and HOW to get there – it’s powerful stuff!
We also co-construct success criteria and example texts together. Once success criteria are decided on and added to our wall, they become the foundation of our student checklist – a more robust means of giving students feedback.
Personally, I’ve also found that bump it up walls keep my teaching on track.
MUST DO: I conduct almost weekly check-ins with my students where I collect a work sample (for narratives this may be a weekly story they have written or just one paragraph such as the conclusion) and give either written or verbal feedback, with a goal slip that they keep on their desk.
Sometimes our weekly goal is a WHOLE CLASS GOAL, such as sentence boundary punctuation, and sometimes it is very individual (e.g. letter reversal). This comes down to knowing your class and individual needs.
4. Bump It Up Walls in Assessments
I often leave the entire wall up during assessments (negotiate this with your teaching team), allowing students to reference the wall if need be.
You can see how it empowers students to refer back to the wall for guidance and reinforcement during crucial evaluation moments
In Conclusion: Bump It Up Walls as Classroom Allies
In conclusion, Bump It Up Walls aren’t just decorations; they are dynamic allies in your teaching arsenal and my number 1 tool to improve student success in the classroom. It’s not just a wall; it’s a pathway to visible, engaging, and impactful learning.
-Ana