Have you been asked to set up a bump it up wall in your classroom? Are you pulling your hair out wondering how to do it? Bump It Up Walls are certainly popular in classrooms right now – and for good reason. They are effective!
However, if you’ve never used one before, you may be wondering how to set up a bump it up wall in your classroom so that you and your students can get the most out of it.
Why use a bump it up wall?
They give your students a clear roadmap to success!
Bump it up walls help learners know how to improve, or ‘bump up’ to the next level of achievement.
Students no longer have to guess what you are looking for – they have clear examples and explicit instructions right in front of them!
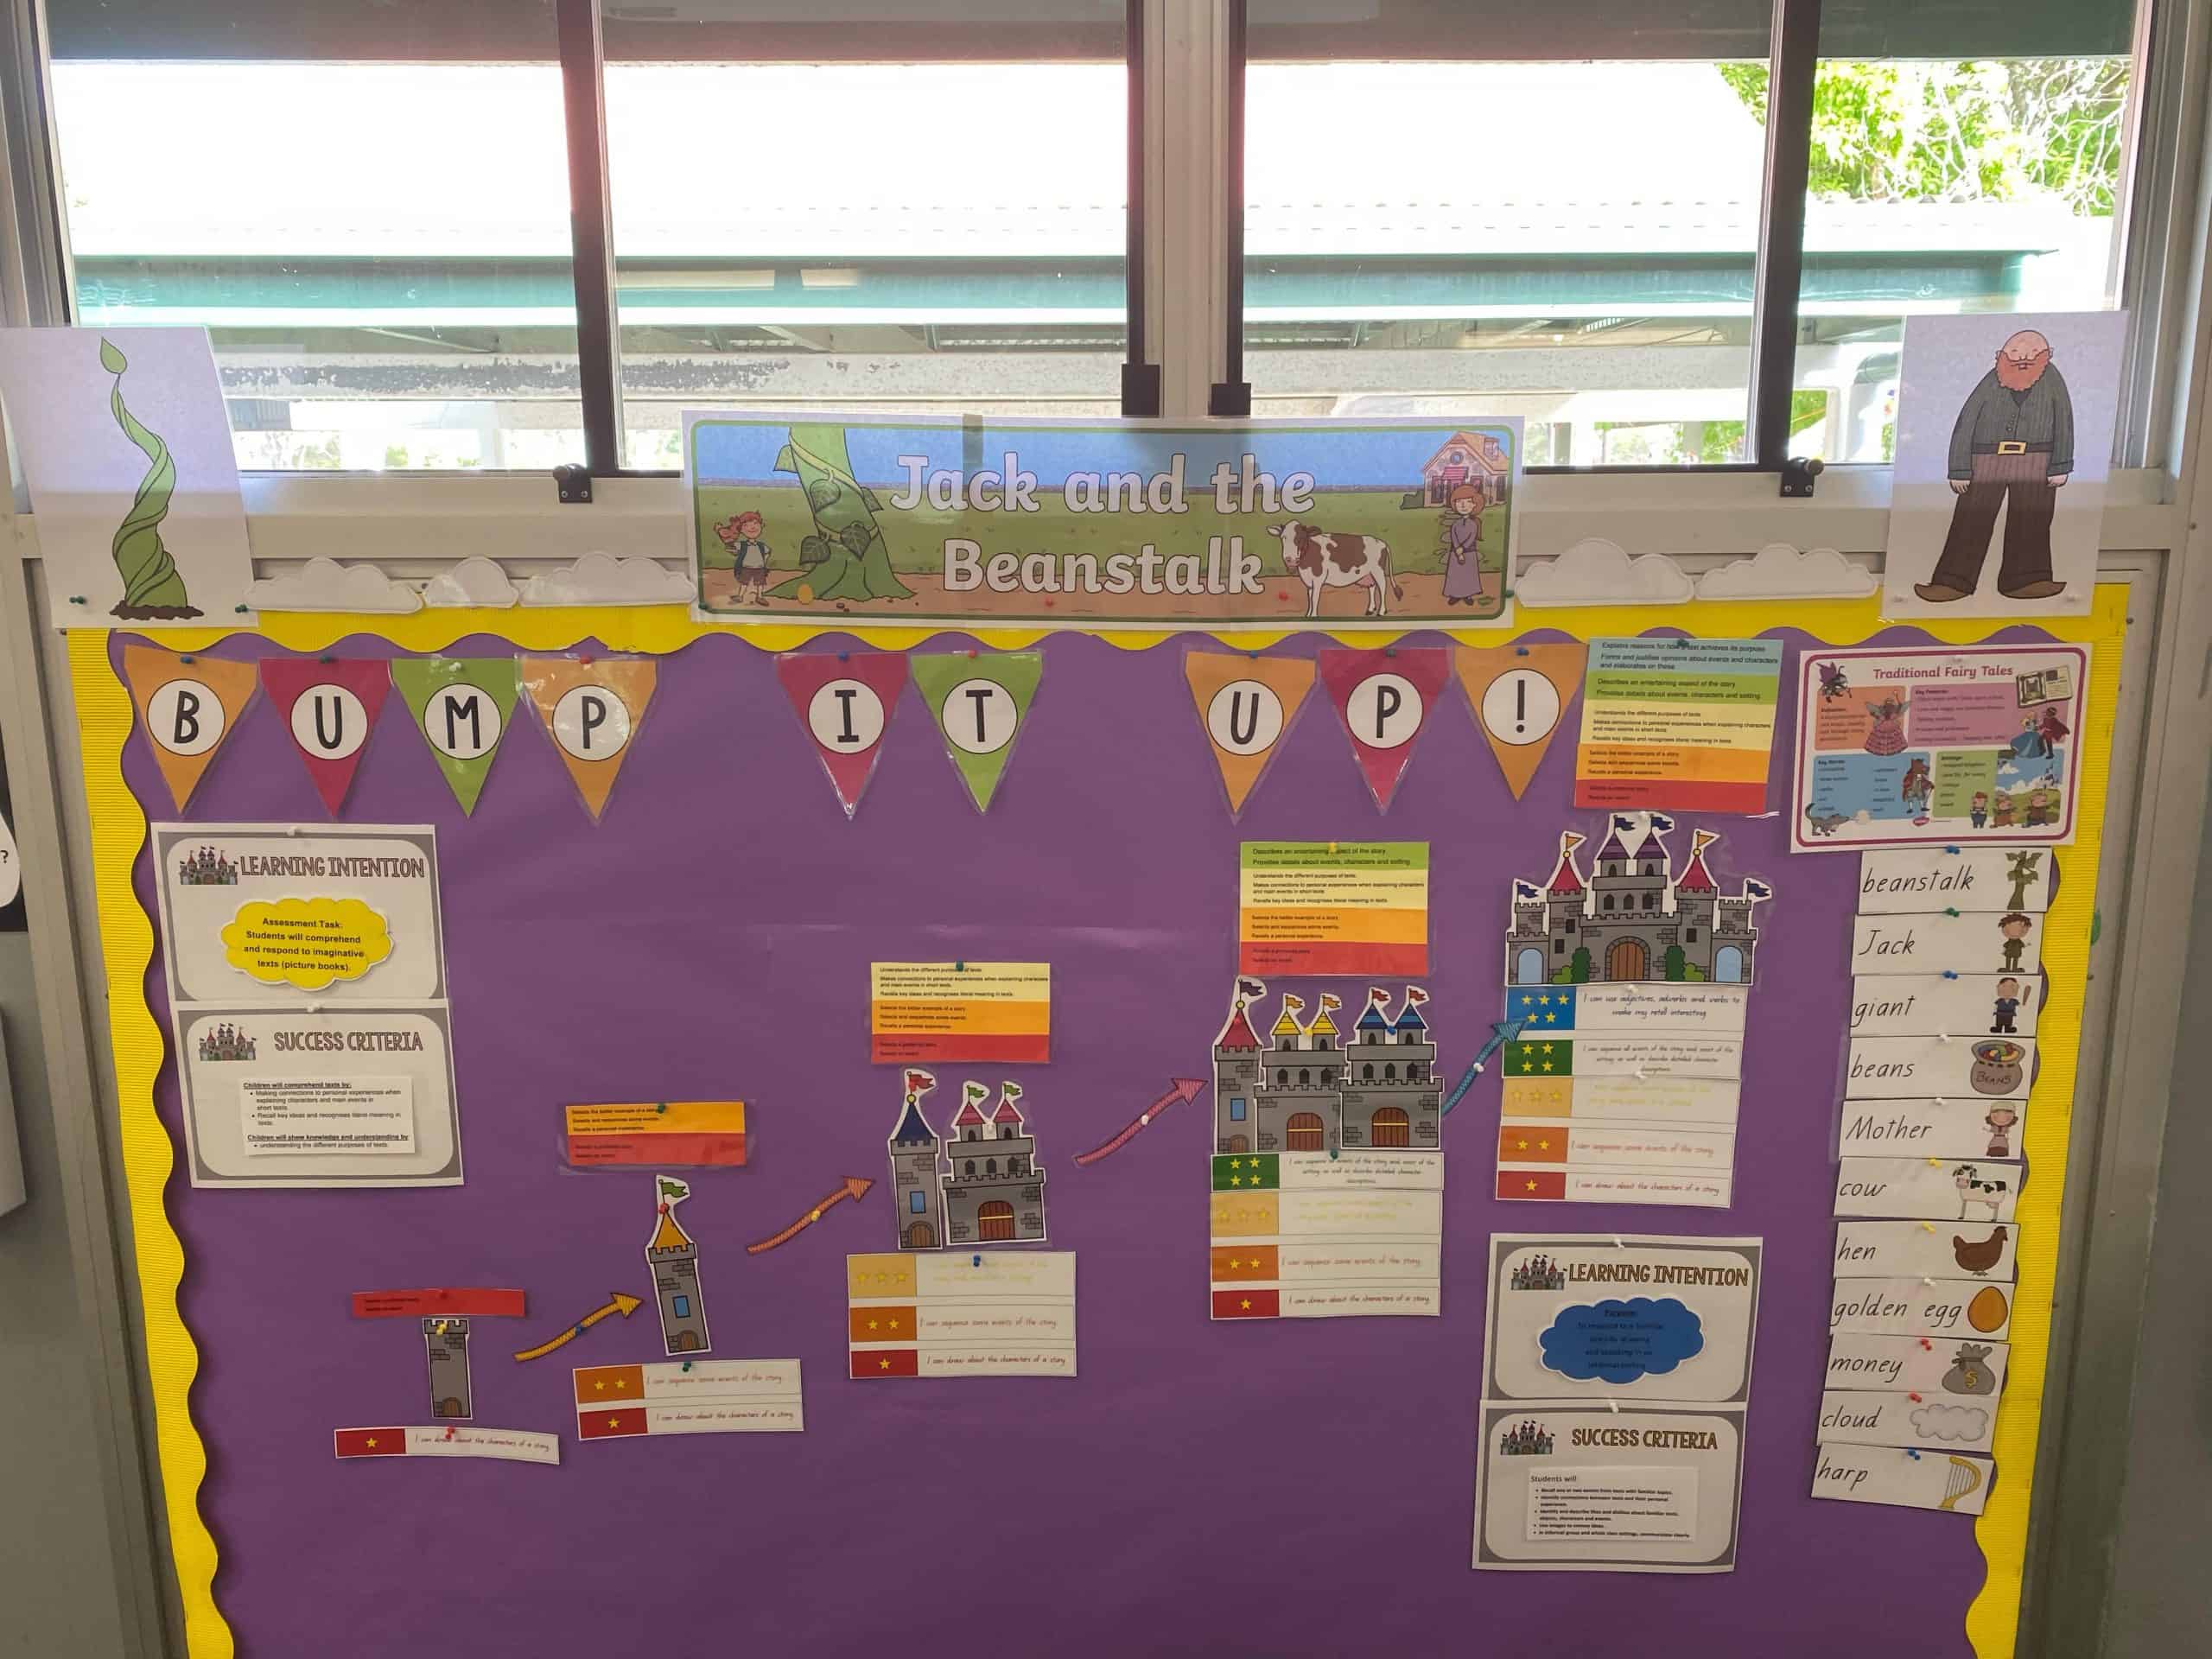
How to set up a Bump It Up Wall
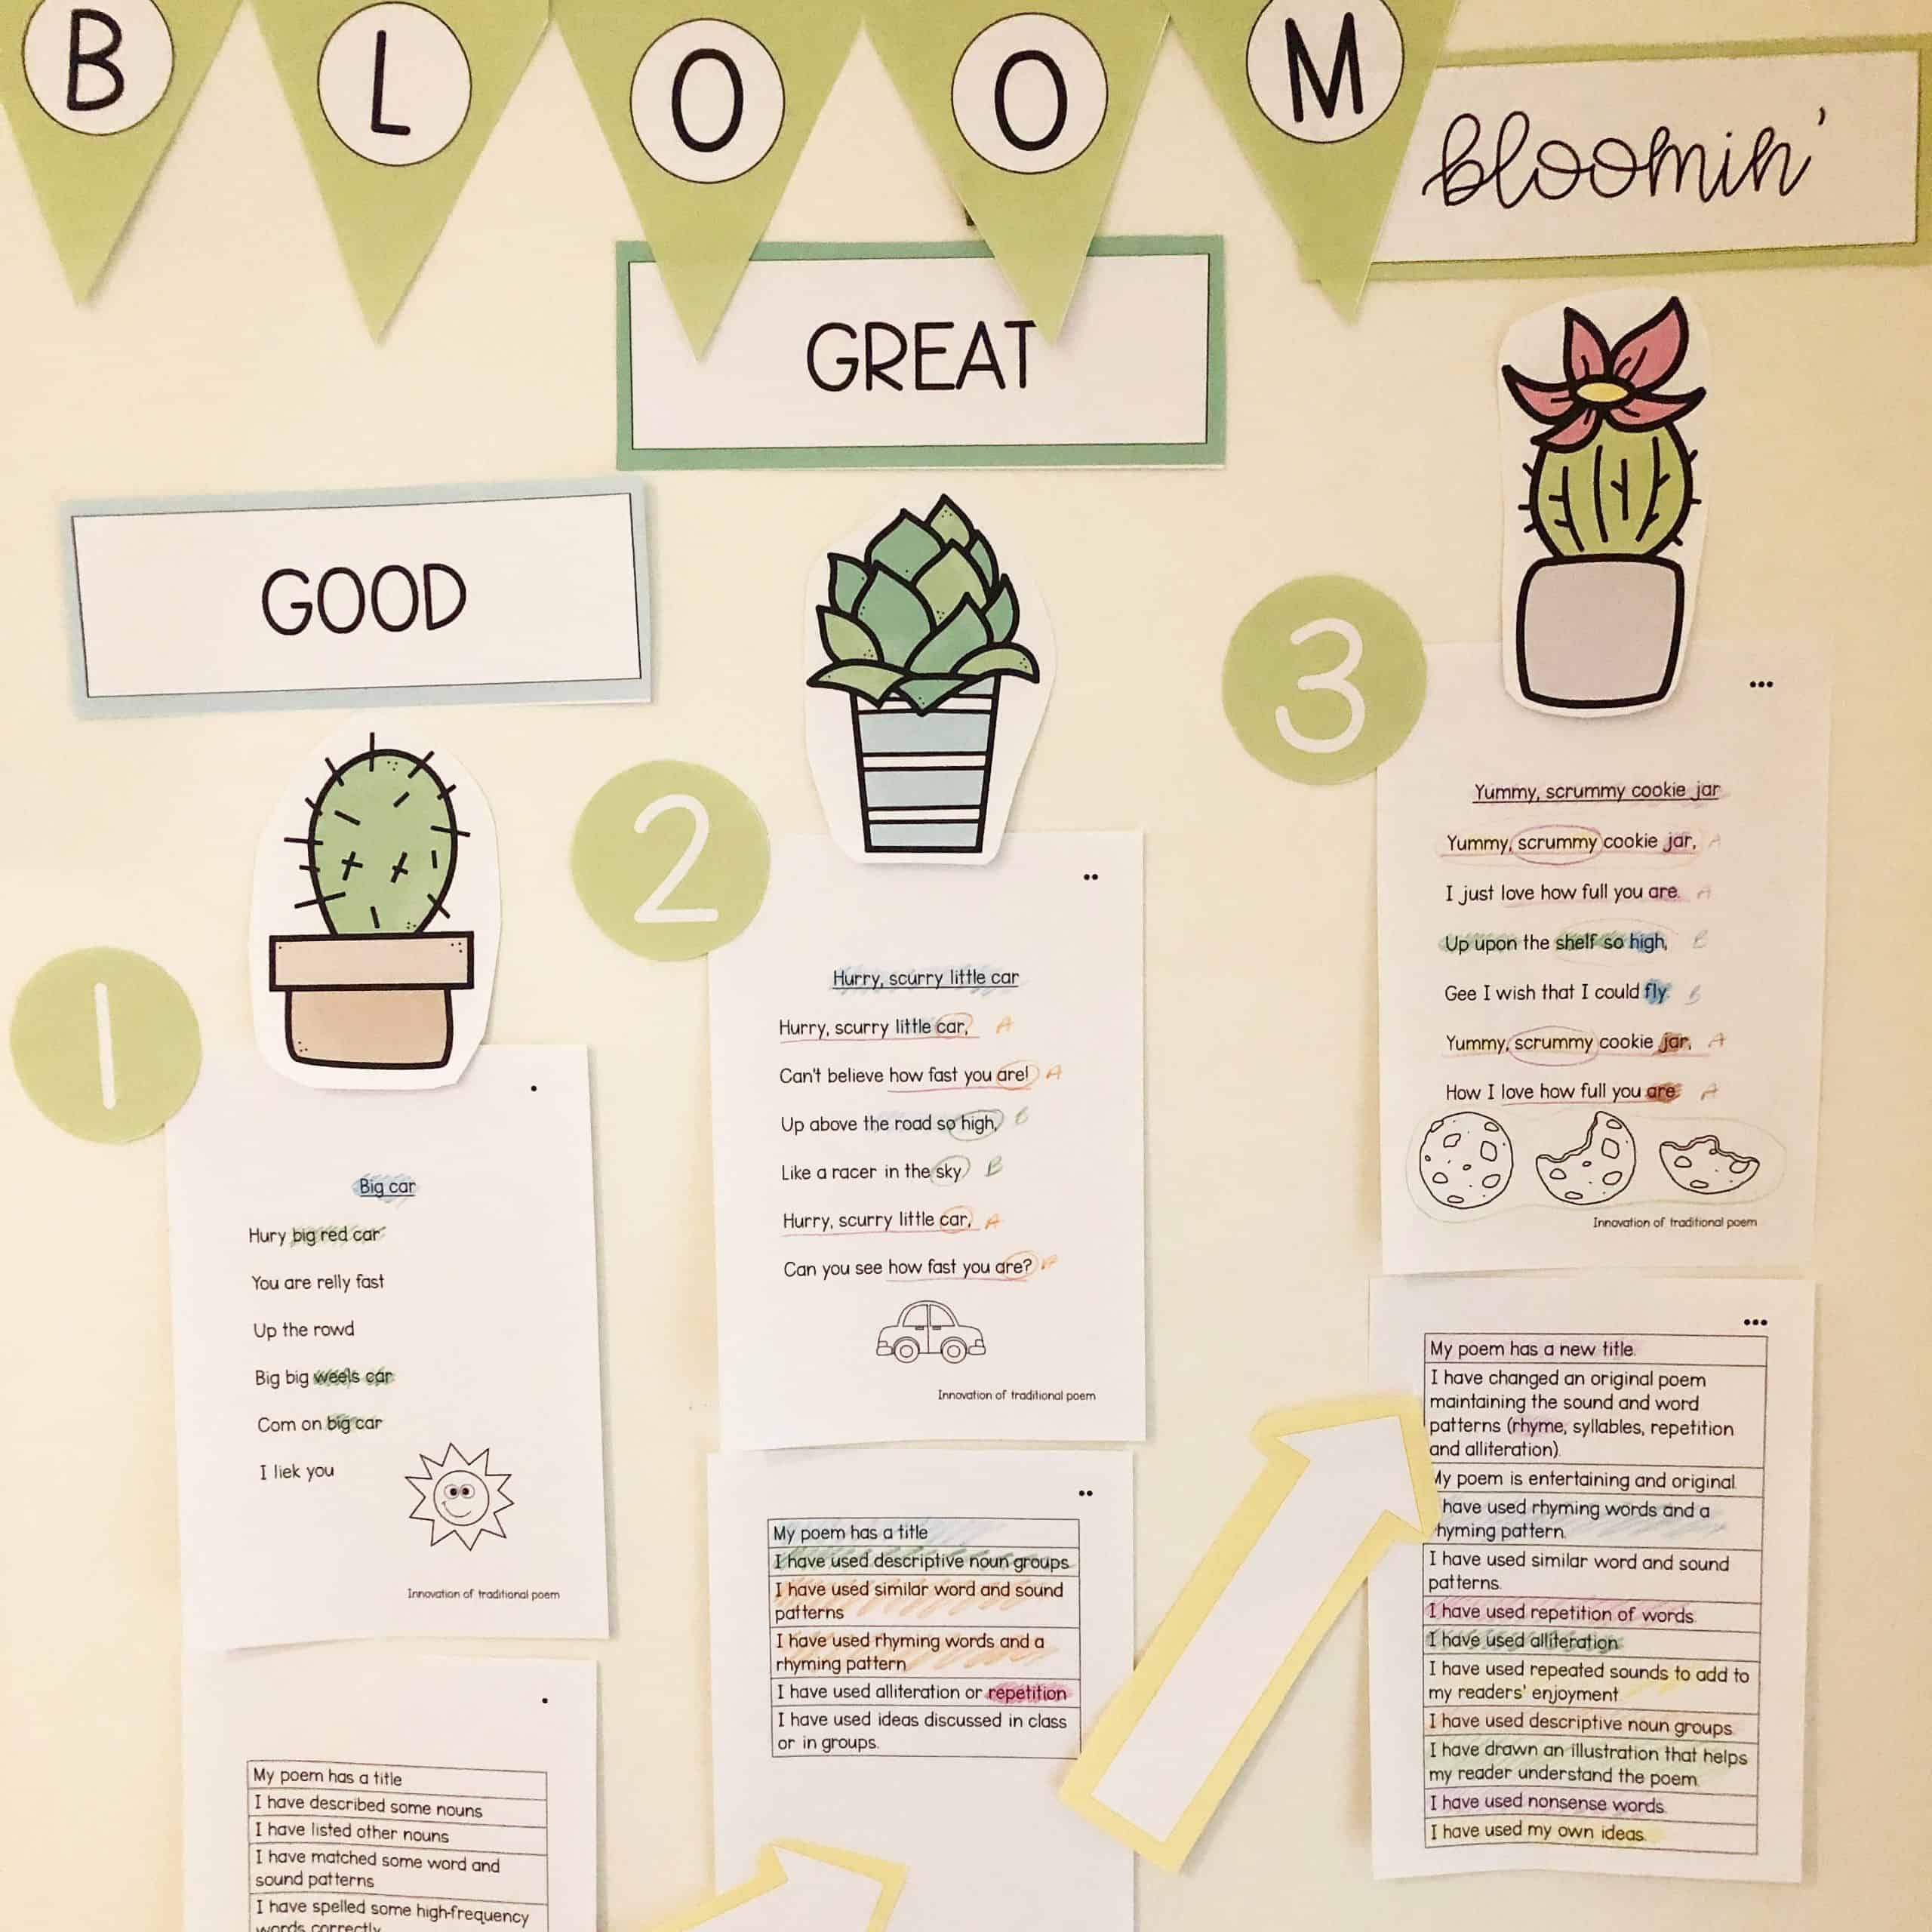
- Print your writing exemplars. These are levelled examples of ‘what a good one looks like’. For example, if the assessment is writing a Year 3 persuasive letter, then you would display what that poersuasive letter looks like at a A-D level (depending on the ability levels of your students.
Need some levelled exemplars for your bump it up wall? We’ve got a huge range in our subscription!
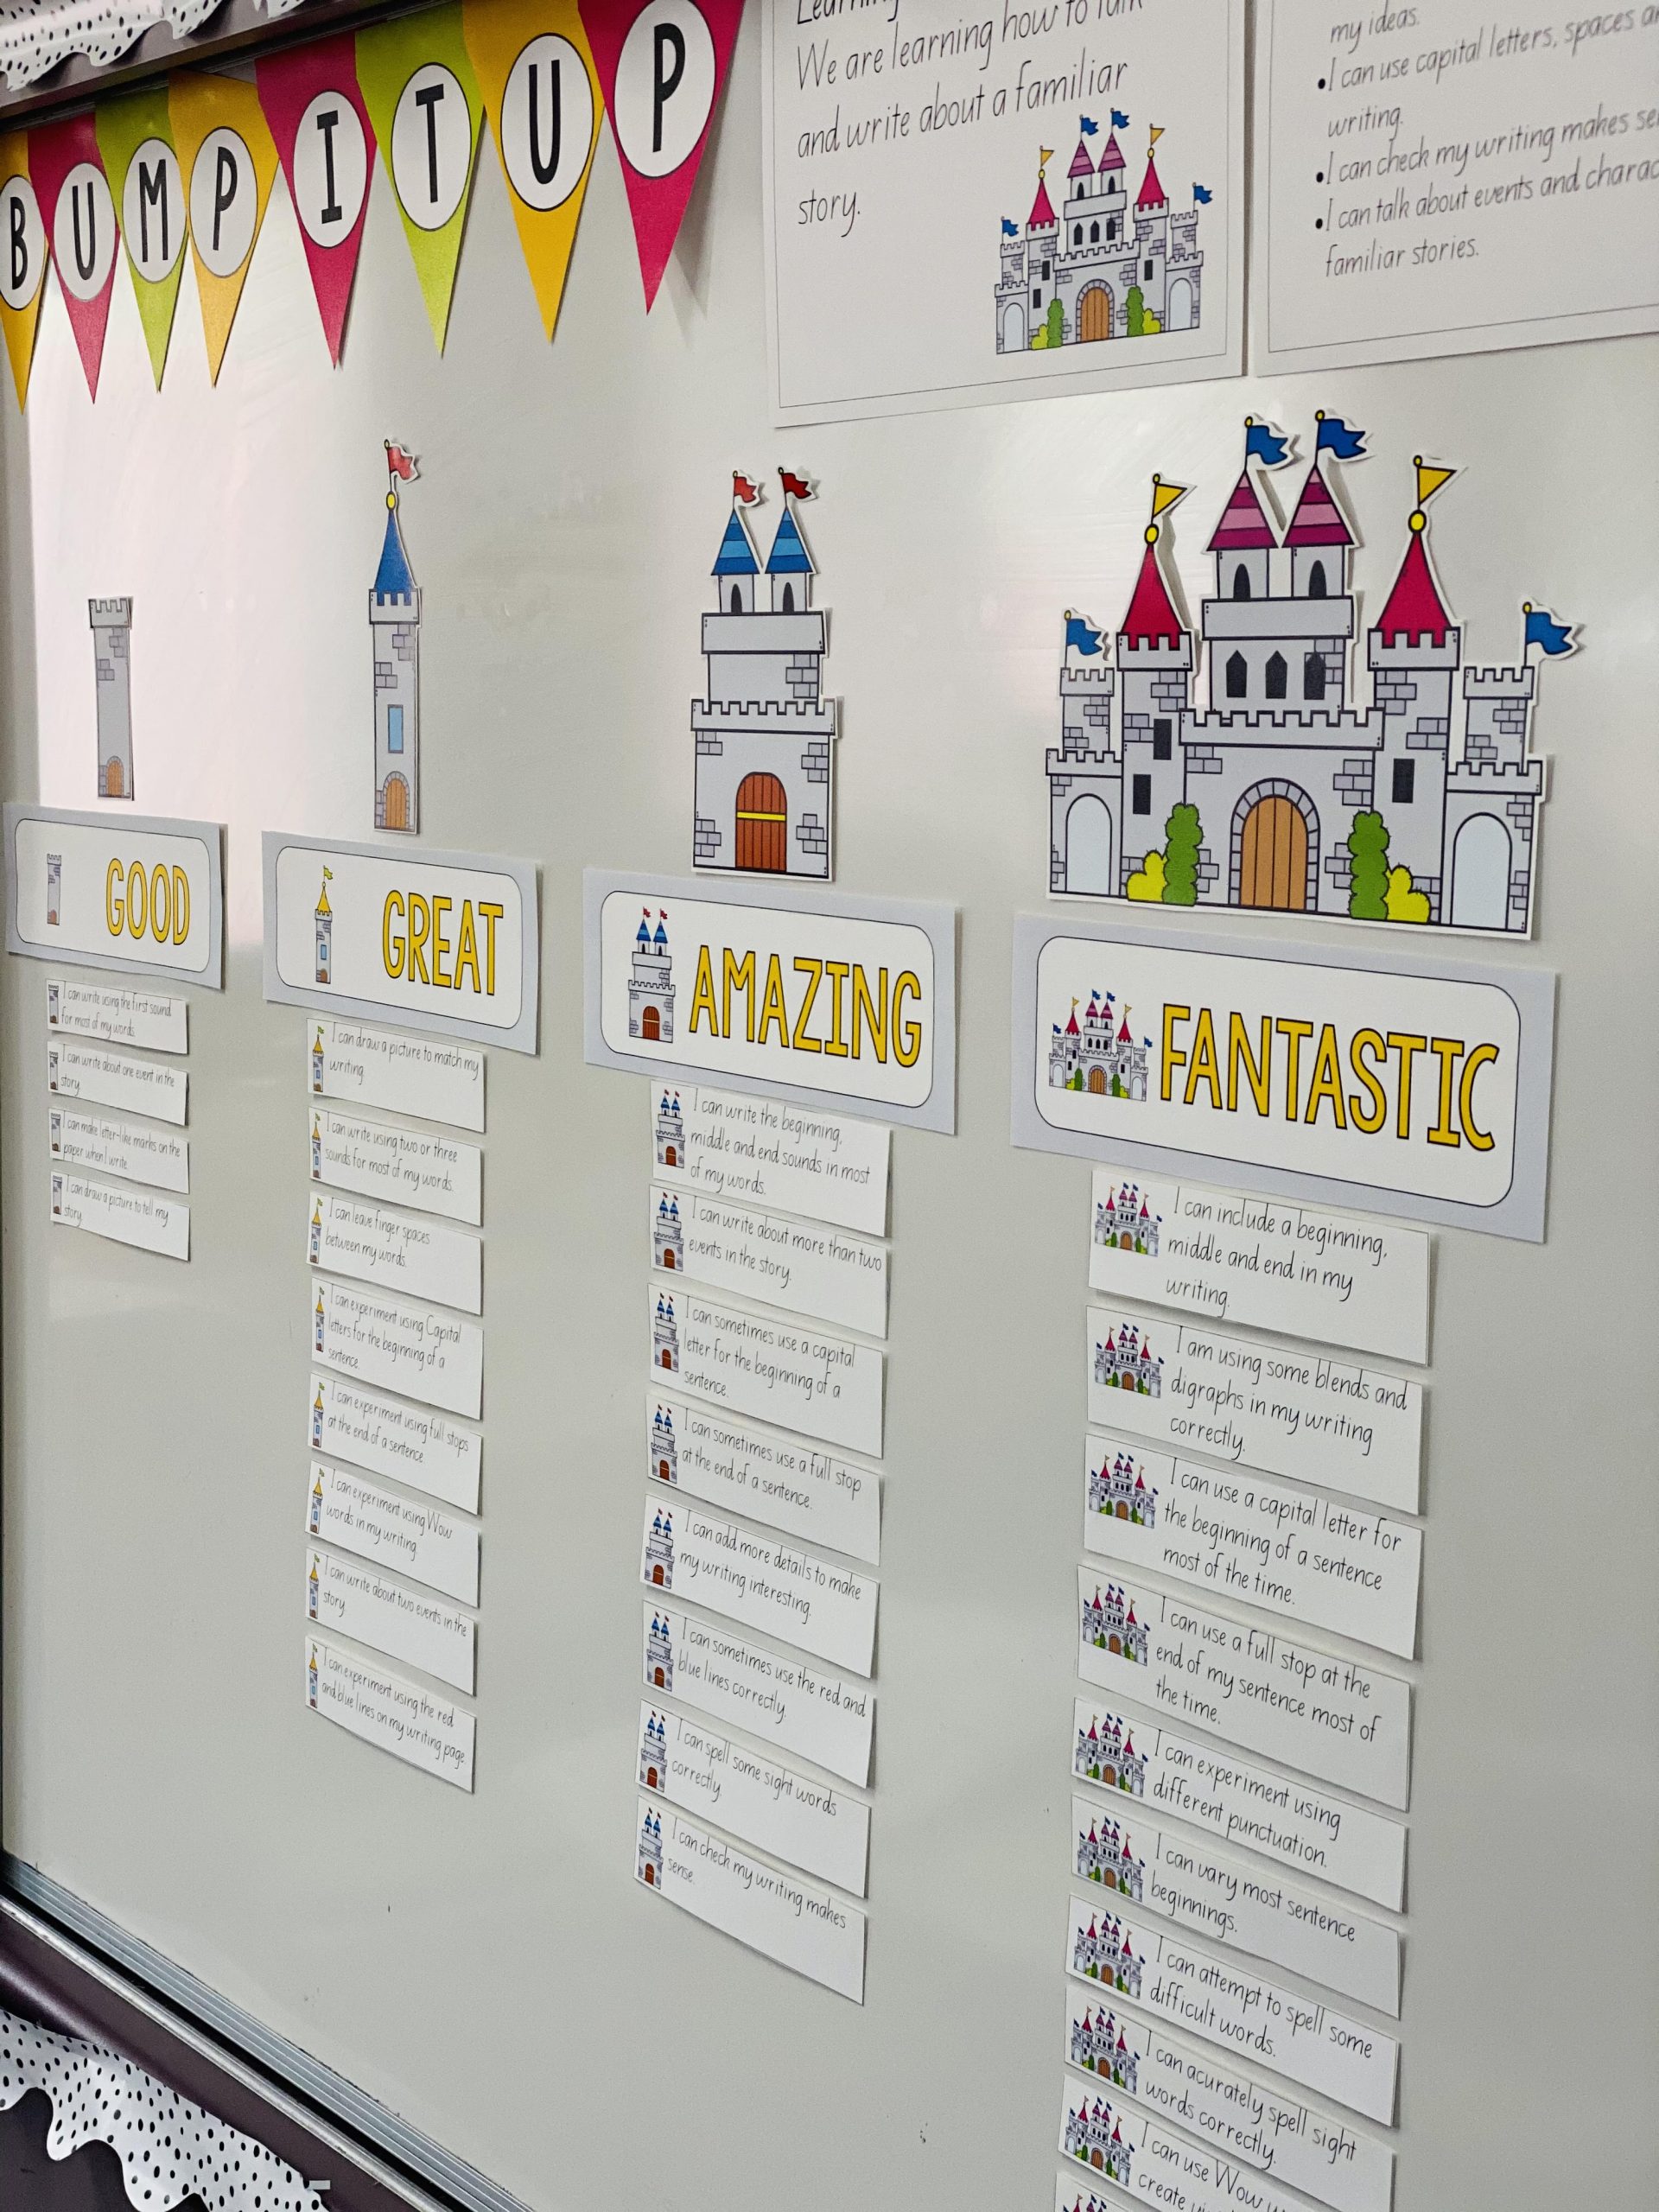
2. Display your exemplars in ascending order (eg D to A) from left to right, on your wall. Ensure they are at student height for easy reference. You can display them diagonally moving up the wall across your wall, or if you are short on space, display them vertically from bottom to top – again making sure all learners in your classroom can read all exemplars.
3. Print all annotations (success criteria) and display them beneath or beside the corresponding exemplars (eg A-level annotations underneath the A writing exemplar).
Each set of annotations (success criteria) detail to students HOW they can move from one level to the next, for example by achieving a certain success criteria. In the early years, you may use icons for the annotations, such as a finger image to show that finger spaces are a success criteria.
4. Add a heading if you wish.
How to use a Bump It Up Wall
(These instructions sit within an assessment cycle that includes formative assessment and self/peer/teacher feedback. Students should know where they sit on the wall, have a learning goal, and know how they can improve. The display is an interactive display – teach each element explicitly and model how to use the wall.)
Initial Phase
- Commence by introducing the topic, such as procedural texts, immersing students in suitable examples.
- Pre-test your students: Gauge their existing knowledge by assigning a prompt for them to create a text. This serves as a valuable tool at the beginning of the assessment cycle.
- Provide feedback: Based on the pre-test, assist students in setting a learning goal. Then, safely file these away for student access during writing time, creating a portfolio of progression.
- Introduce the Bump It Up Wall: Clarify that it contains samples for each achievement level.
- Self-evaluation: Instruct students to assess their samples against the wall, determining where they ‘sit.’ You can use labels or anonymous post-it notes for this purpose.
Teaching and Learning Cycle
- Teach to the ‘A’: Aim high with the top sample as the aspirational benchmark. Although students may not get everything right, some will surpass their expectations.
- Explore the ‘A’ sample: Treat it as an exemplar of ‘what a good one looks like.’ Read annotations together, locating examples within the text.
- Success criteria teaching: Throughout the learning cycle, teach each success criterion, focusing on achieving them. Adapt as needed to align with your assessment requirements.
- Provide a printed checklist: Furnish students with a tangible checklist of success criteria.
- Teach your unit of work: Conduct check-in formative assessments, either for a complete text or specific components.
- Encourage reference to the Bump It Up Wall: During teaching, students should check how they can improve based on the wall or checklist.
Final Assessment and Continuous Improvement
- Offer feedback and self-assessment: Teach students to self-assess against the Bump It Up Wall. Use a highlighter to identify missing criteria, turning it into a learning goal.
- Co-create a writing sample: Collaborate with your class to create a writing sample that aligns with the learning goals.
- Maintain the Bump It Up Wall during the final assessment: Keep it visible, allowing students to refer to it as they finalize their work.
- Throughout the assessment cycle, students may occupy different levels on the BIUW. Class discussions and feedback sessions with the teacher facilitate progression to higher levels.
- Feedback remains a crucial, albeit unseen, element of the Bump It Up Wall. Every iteration of student work, evaluated with feedback and the BIUW, contributes to their continuous improvement, helping them ‘bump up’ their learning.
Now you know how to set up a bump it up wall, and how to implement it in your classroom, it’s time to have a go!
We have a huge range of visual writing rubrics (writing samples/exemplars) and bump it up wall displays in our subscription! Find out more here.
-
 Bump It Up Wall Bulletin Board Borders
 -
Community Helpers Opinion Writing Papers ‘When I grow up…’ K-1 Writing
-
Community Helpers Opinion Writing Bump It Up Wall | When I Grow Up Writing
-
Student Growth Booklet | Self Assessment & Goal Setting Journal
-
Year 1 Additive Problem Solving Maths Bump It Up Wall
-
Year 1 Addition and Subtraction Maths Bump It Up Wall
-
Year 1 Counting and Grouping Maths Bump It Up Wall
-
Grade Three Narrative Writing Bump It Up Wall – 2025 UPDATED EDITION
-
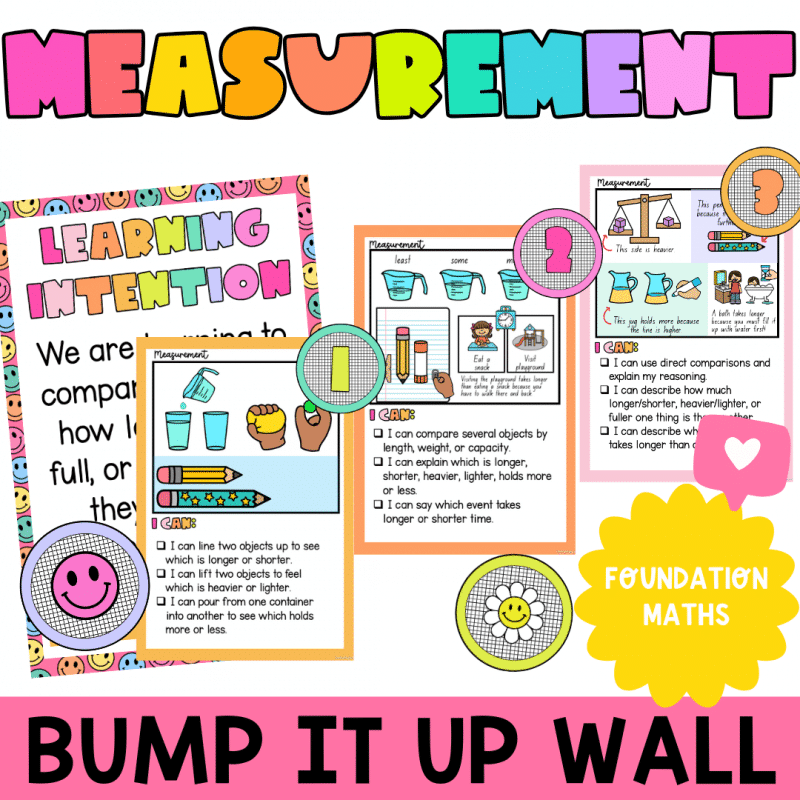
Foundation Maths Measurement Bump It Up Wall
-
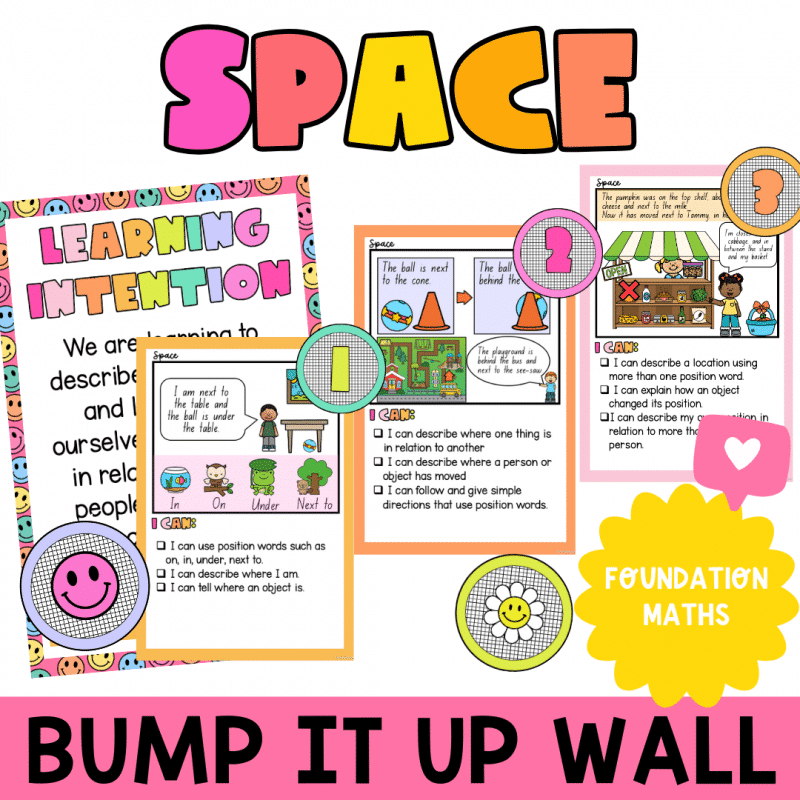
Foundation Maths Space Bump It Up Wall
-
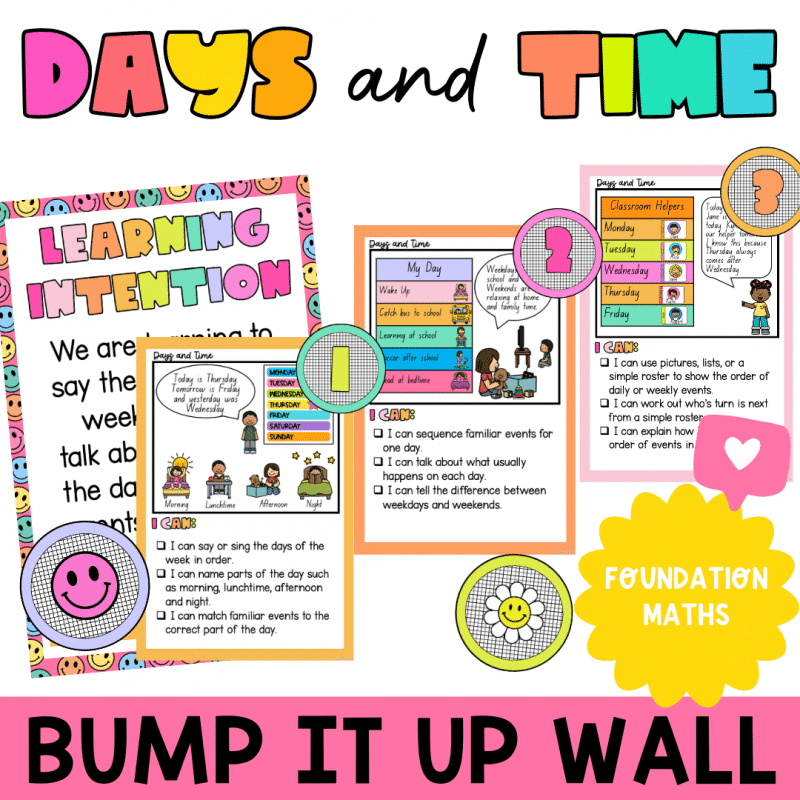
Foundation Maths Days and Time Bump It Up Wall
-
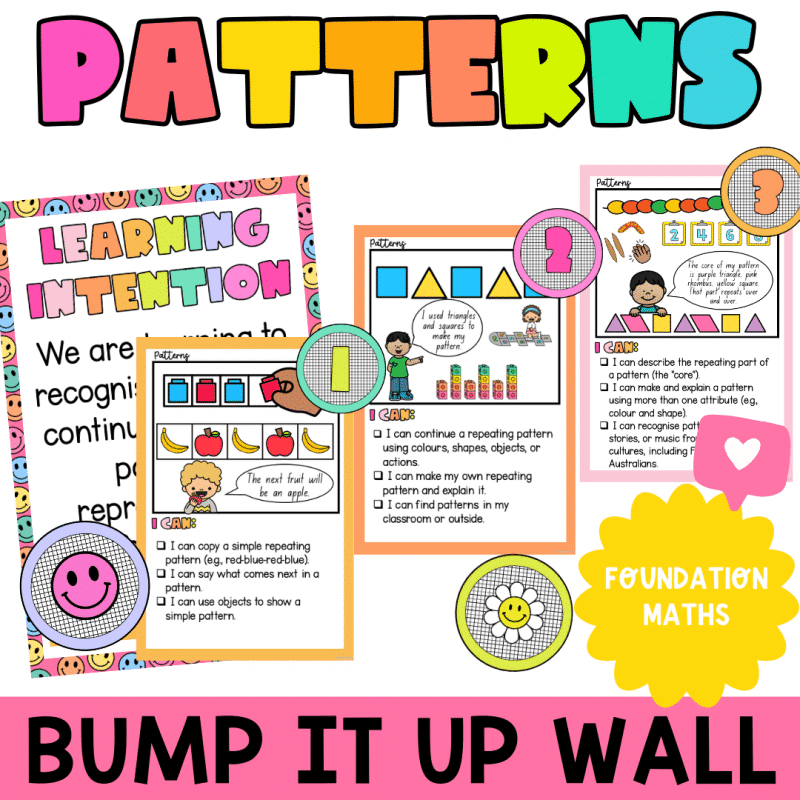
Foundation Maths Patterns Bump It Up Wall
-
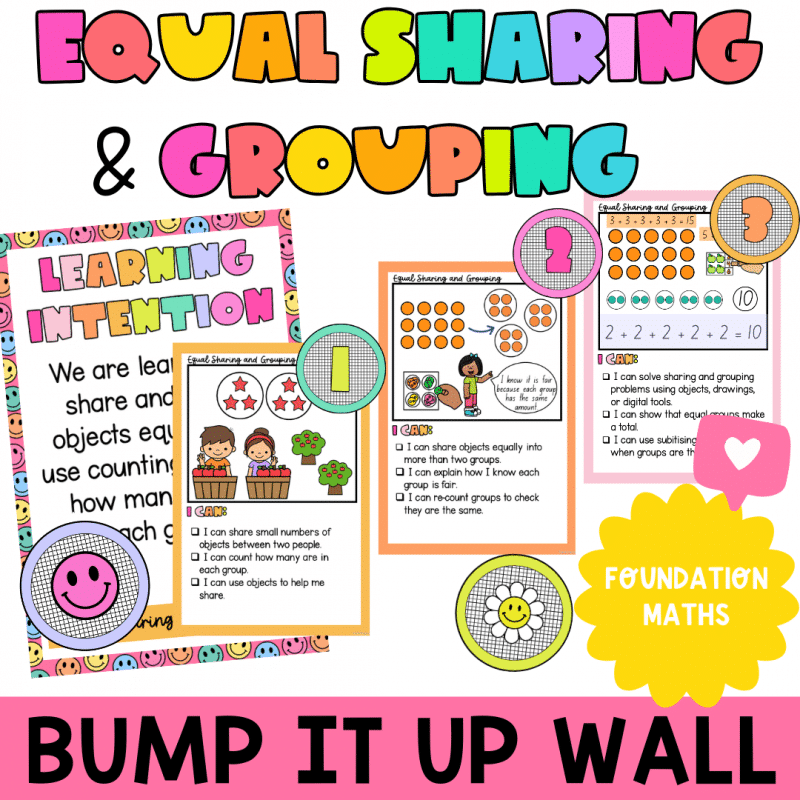
Foundation Maths Equal Sharing and Grouping Bump It Up Wall
-
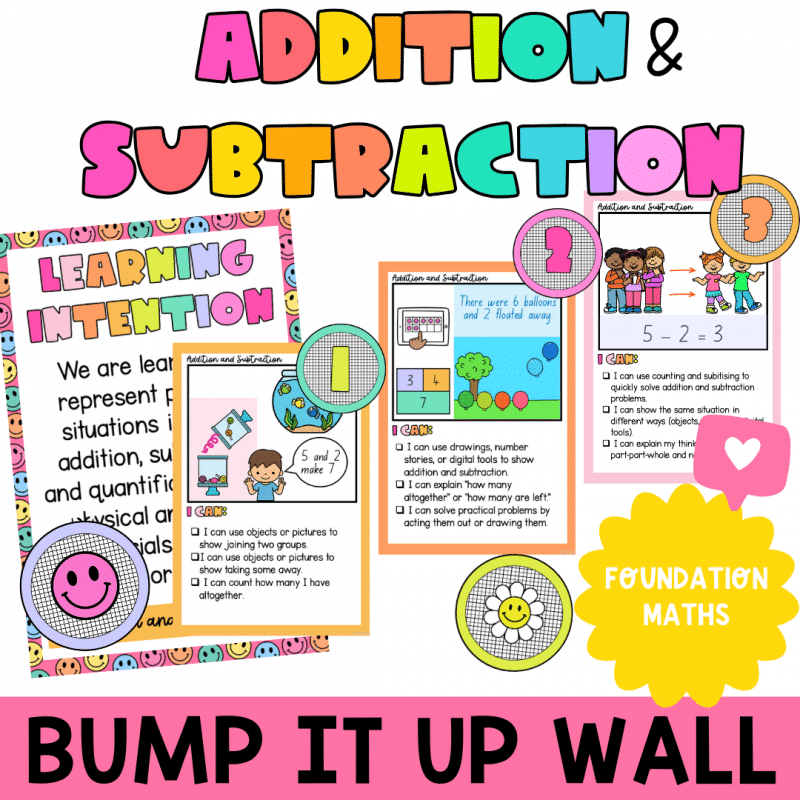
Foundation Maths Addition and Subtraction Bump It Up Wall
-
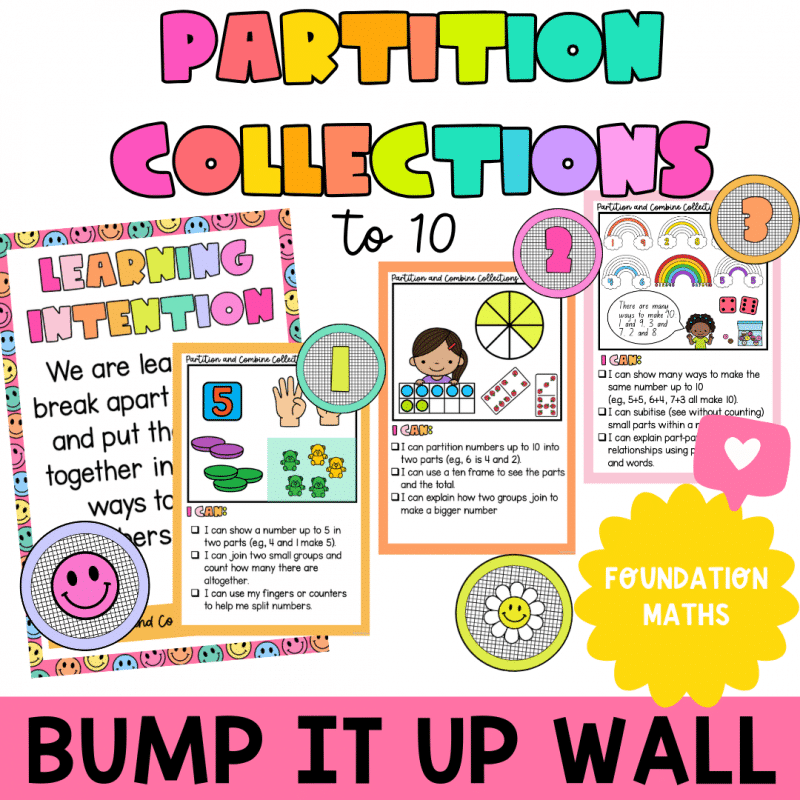
Foundation Maths Partition Collections to 10 Bump It Up Wall
-
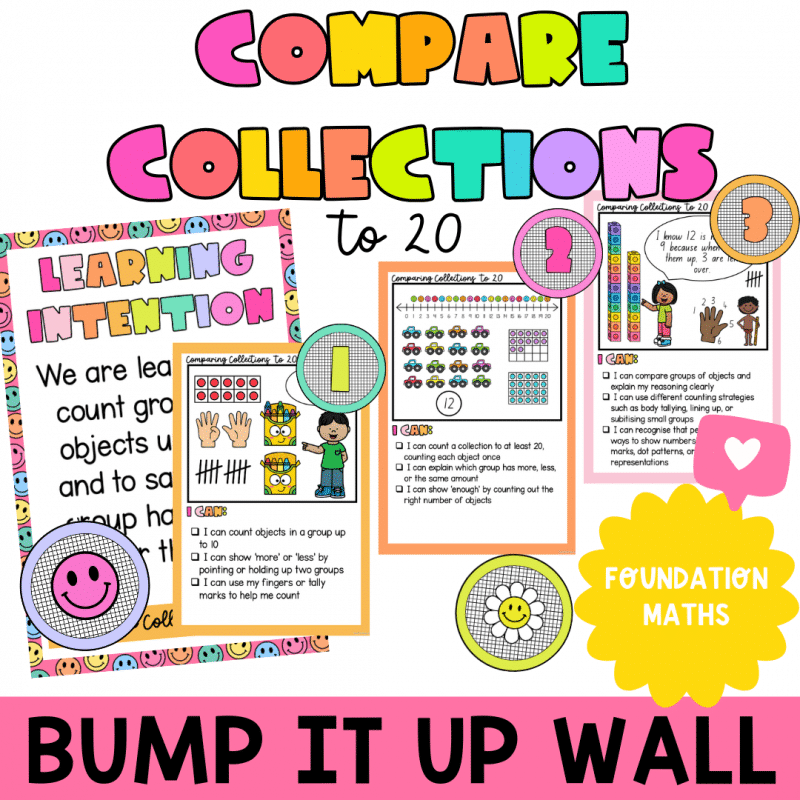
Foundation Maths Collections to 20 Bump It Up Wall
-
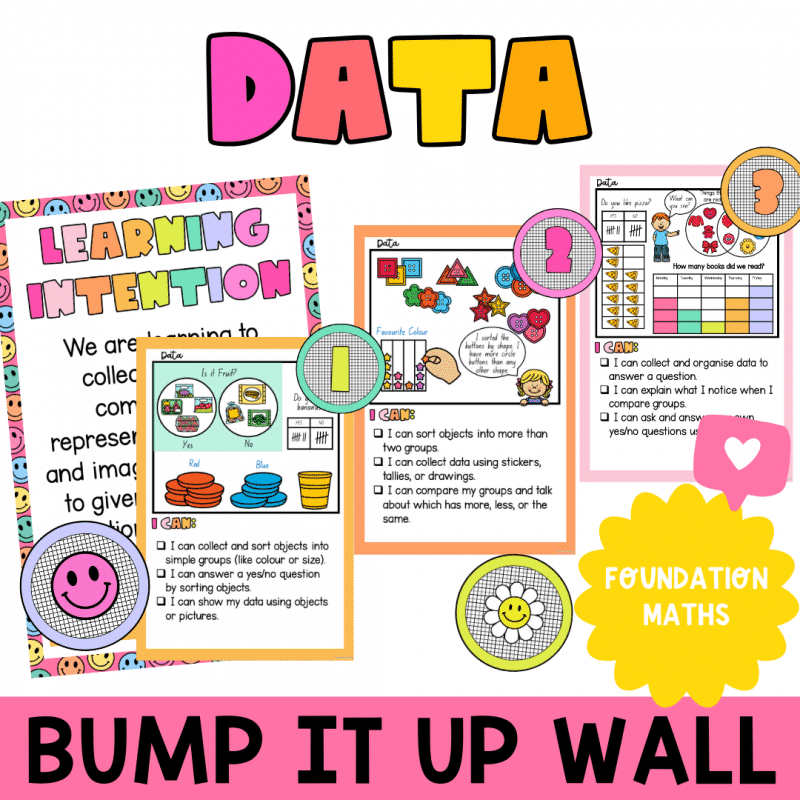
Foundation Data Maths Bump It Up Wall
-
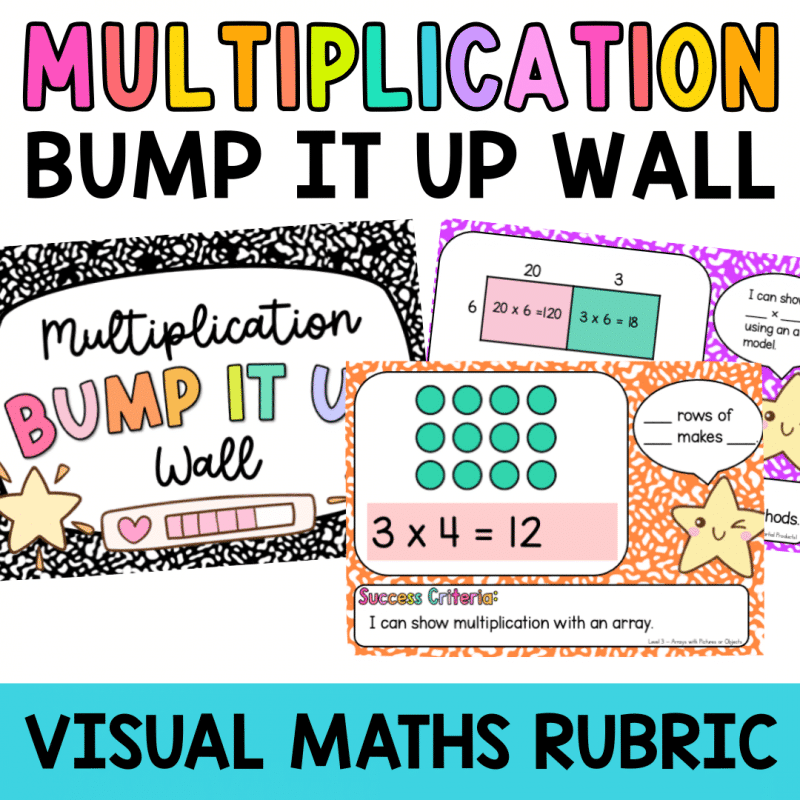
Multiplication Bump It Up Wall | Student Maths Goals | Editable Visual Rubric
-
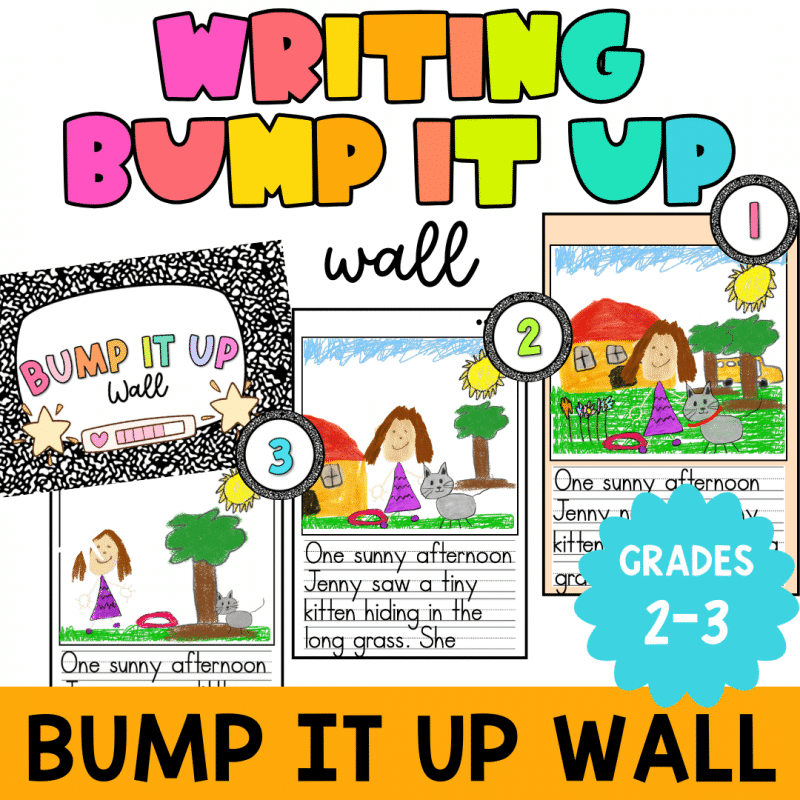
Writing Bump It Up Wall Grades 2-3 | Student Writing Goals Visual Rubric | EDITABLE DISPLAY
-
Writing Bump It Up Wall | Student Writing Goals Visual Rubric | EDITABLE DISPLAY
-
Informative Writing EDITABLE Bump It Up Wall – Grades 6–9 | US & Australian Curriculum
-
Argument Writing EDITABLE Bump It Up Wall – Grades 6–9 | US & Australian Curriculum
-
Composition Notebook Bump It Up Wall
-
Year 1 Shapes Maths Bump It Up Wall